
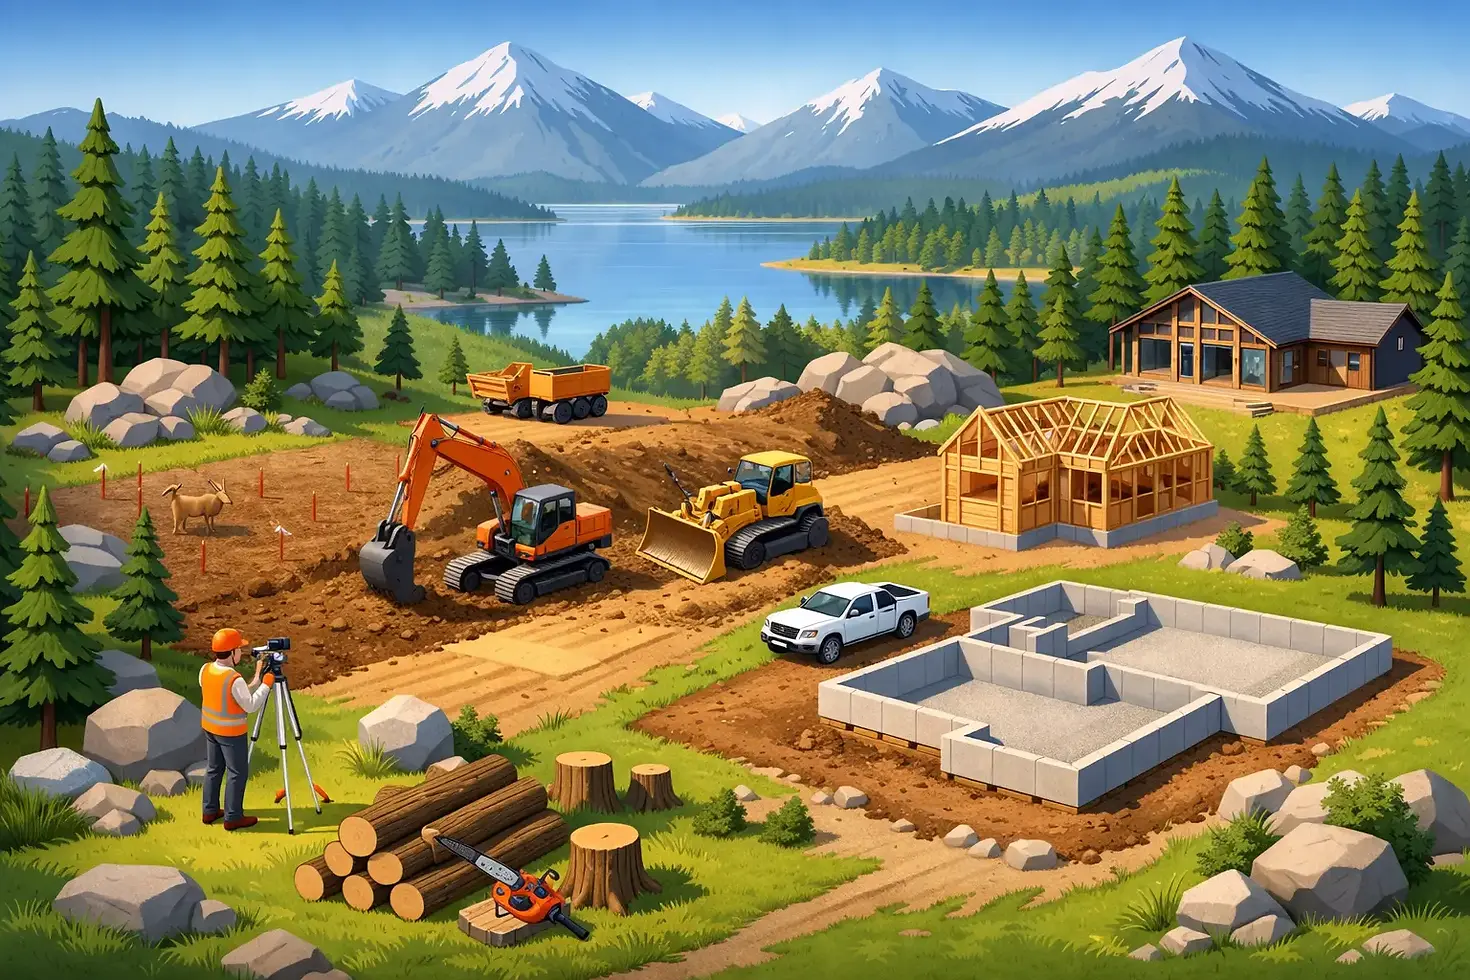
How to Prepare Land for Building in North Idaho
A beautiful parcel can still be a difficult building site. A wooded slope, a long private drive, a seasonal drainage path, or shallow bedrock can all affect where a home belongs and what it will cost to build. Knowing how to prepare land for building before finalizing house plans helps protect your budget, your schedule, and the long-term performance of the home.
For North Idaho property owners, site preparation is more than clearing a pad and bringing in gravel. It is the early construction work that determines how water moves, how trucks reach the site, how the foundation is supported, and how the finished home handles winter weather. The best results come from evaluating the land first, then shaping the build around its real conditions.
Start With a Thorough Site Evaluation
Before clearing trees or ordering excavation equipment, take a close look at the property as a whole. A site evaluation should identify boundaries, topography, existing access, drainage patterns, utility availability, and potential constraints such as wetlands, easements, flood zones, or steep slopes.
A current survey is one of the most useful early investments. It confirms property lines and easements, helps establish setbacks, and gives the design team reliable elevations to work from. On rural or larger parcels, it may also reveal that the most scenic home location is not the most practical location for a driveway, septic system, or utility run.
Soil conditions deserve equal attention. A geotechnical review or soil testing may be needed depending on the site, foundation design, local requirements, and visible conditions. Expansive soils, loose fill, poor bearing material, high groundwater, and rock can change the excavation approach significantly. Finding those conditions early is far less costly than changing course after a foundation excavation is open.
Confirm What Can Be Built Before Designing Too Far
Land preparation should move alongside planning, not after the home is fully designed. Zoning, setbacks, height limits, shoreline considerations, access rules, and building requirements can influence the size, orientation, and placement of a home.
In North Idaho, snow loads are a central design consideration. The roof structure, drainage plan, entry locations, and exterior materials all need to suit local winter conditions. A site may also call for a different foundation type, a walkout basement, retaining walls, or a more compact footprint to work responsibly with the terrain.
If the property will use a private well and septic system, verify those possibilities early. Septic suitability, reserve area requirements, setbacks from wells and water features, and the route for service lines all affect the usable building envelope. It is common for a property to have plenty of acreage but a much smaller area that works well for the house, driveway, septic system, and drainage features together.
Permits and approvals should be mapped out before physical work begins. The exact process depends on the property location and jurisdiction, but early coordination prevents avoidable delays. Clearing, driveway work, septic installation, utility connections, and building construction may involve separate steps and inspections.
Plan Access for Construction and Everyday Life
A home site is only as workable as its access. Construction crews need a safe route for excavation equipment, concrete trucks, lumber deliveries, and other heavy loads. Homeowners need an approach that remains manageable through rain, snow, and freeze-thaw cycles.
The driveway should be planned with slope, sight distance, drainage, turning space, and road connection requirements in mind. A drive that looks acceptable in dry summer conditions may become rutted, icy, or difficult to plow if it is too steep or poorly drained. On constrained sites, a turnaround or staging area can make a meaningful difference during construction and for long-term service access.
Road base, culverts, ditching, and surface material are not minor details. They protect the investment in the driveway and keep water from migrating where it does not belong. In some cases, improving access first is necessary before the main site work can begin safely.
Clear Selectively and Protect the Site
Clearing is not simply about removing every tree from the building area. A thoughtful clearing plan preserves privacy, wind protection, natural shade, and the character that made the property appealing in the first place. It also reduces unnecessary disturbance and limits the amount of ground that must later be stabilized.
Mark the proposed home footprint, driveway, utility corridors, septic areas, and planned outdoor spaces before clearing begins. Identify trees worth protecting and establish a protection zone around their root systems. Heavy equipment traffic and soil compaction can damage mature trees even when their trunks are left standing.
Topsoil should be stripped and stockpiled separately where practical. It can often be reused later for final grading and landscape work. Keep stockpiles away from drainage paths, and use erosion-control measures when soil will be exposed for an extended period. Silt fencing, stabilized entrances, and temporary swales may be simple measures, but they help keep sediment from leaving the site during rain and snowmelt.
Grade for Water First, Appearance Second
A level-looking yard is not necessarily a well-prepared yard. Proper grading is designed to direct water away from the home, manage surface runoff, and create stable transitions between the house, driveway, and surrounding land.
The finished ground around the foundation should slope away from the structure. Roof runoff should be directed to a planned discharge area, not released beside the foundation or onto a neighboring property. On sloped land, uphill runoff may need to be intercepted with swales, drains, or retaining features before it reaches the house.
This is where site-aware planning matters most. Moving water across a mountain property is not always straightforward. A drainage approach that works on a flat in-town lot may not be enough for a wooded hillside, a site with compact soil, or a property exposed to heavy spring runoff.
Retaining walls may be appropriate when they create usable space or reduce excessive cuts and fills. However, walls add engineering, drainage, and maintenance considerations. They should solve a real grading problem rather than serve as an afterthought once the site has already been disturbed.
Bring Utilities In With the Building Plan
Utility planning is easier when it is coordinated with excavation and foundation work. Determine where power, water, sewer or septic, communications, propane, and other services will enter the home. Confirm trench routes, required depths, equipment clearances, and locations for meters, tanks, and service panels.
On rural sites, utility extensions can be a significant portion of the early budget. Long trench runs, rock excavation, power upgrades, well drilling, and septic installation all take time and may need to occur in a particular sequence. Combining excavation activities where possible can reduce repeated mobilization and avoid disturbing completed areas later.
Think beyond installation day. Utility components need access for maintenance, and their locations should not interfere with future decks, additions, gardens, or drainage improvements. A little coordination now keeps the finished property more flexible.
Prepare a Foundation-Ready Building Pad
Once the building area is cleared, access is established, and rough grading is underway, the foundation pad can be prepared. The goal is stable, properly compacted support at the correct elevation, with excavation that accounts for footings, drainage, insulation, and any basement or crawlspace requirements.
Organic material, unsuitable soil, and uncontrolled fill should be removed from beneath the structure. If engineered fill is needed, it should be placed and compacted in controlled lifts. Foundation drainage, waterproofing, and perimeter drain systems should be planned as part of the foundation assembly, especially where groundwater or hillside runoff may be present.
The right approach depends on the lot. A daylight basement may make excellent use of a slope, while a crawlspace or slab-on-grade foundation may be more practical on another property. The objective is not to force the land into a standard plan. It is to create a stable foundation system that fits the site and supports the home for decades.
Build With the Seasons in Mind
North Idaho's construction season rewards realistic scheduling. Wet spring conditions can limit heavy equipment work, while winter frost, snow, and access conditions can affect excavation, concrete placement, and material deliveries. Some work can continue in colder months with the right protections, but the cost and logistics may differ.
A well-planned project anticipates those conditions rather than treating them as surprises. It allows time for permitting, site testing, utility coordination, and weather-related adjustments before the foundation schedule becomes critical.
The land should guide the home from the first stake in the ground. When drainage, access, soil, utilities, and foundation work are considered together, the finished property feels natural to live on and is better prepared for North Idaho's changing seasons. That early care is how Sandpoint Home Builders approaches site planning: with practical judgment, skilled coordination, and respect for the ground beneath the home.


Comments